Roll centre correction
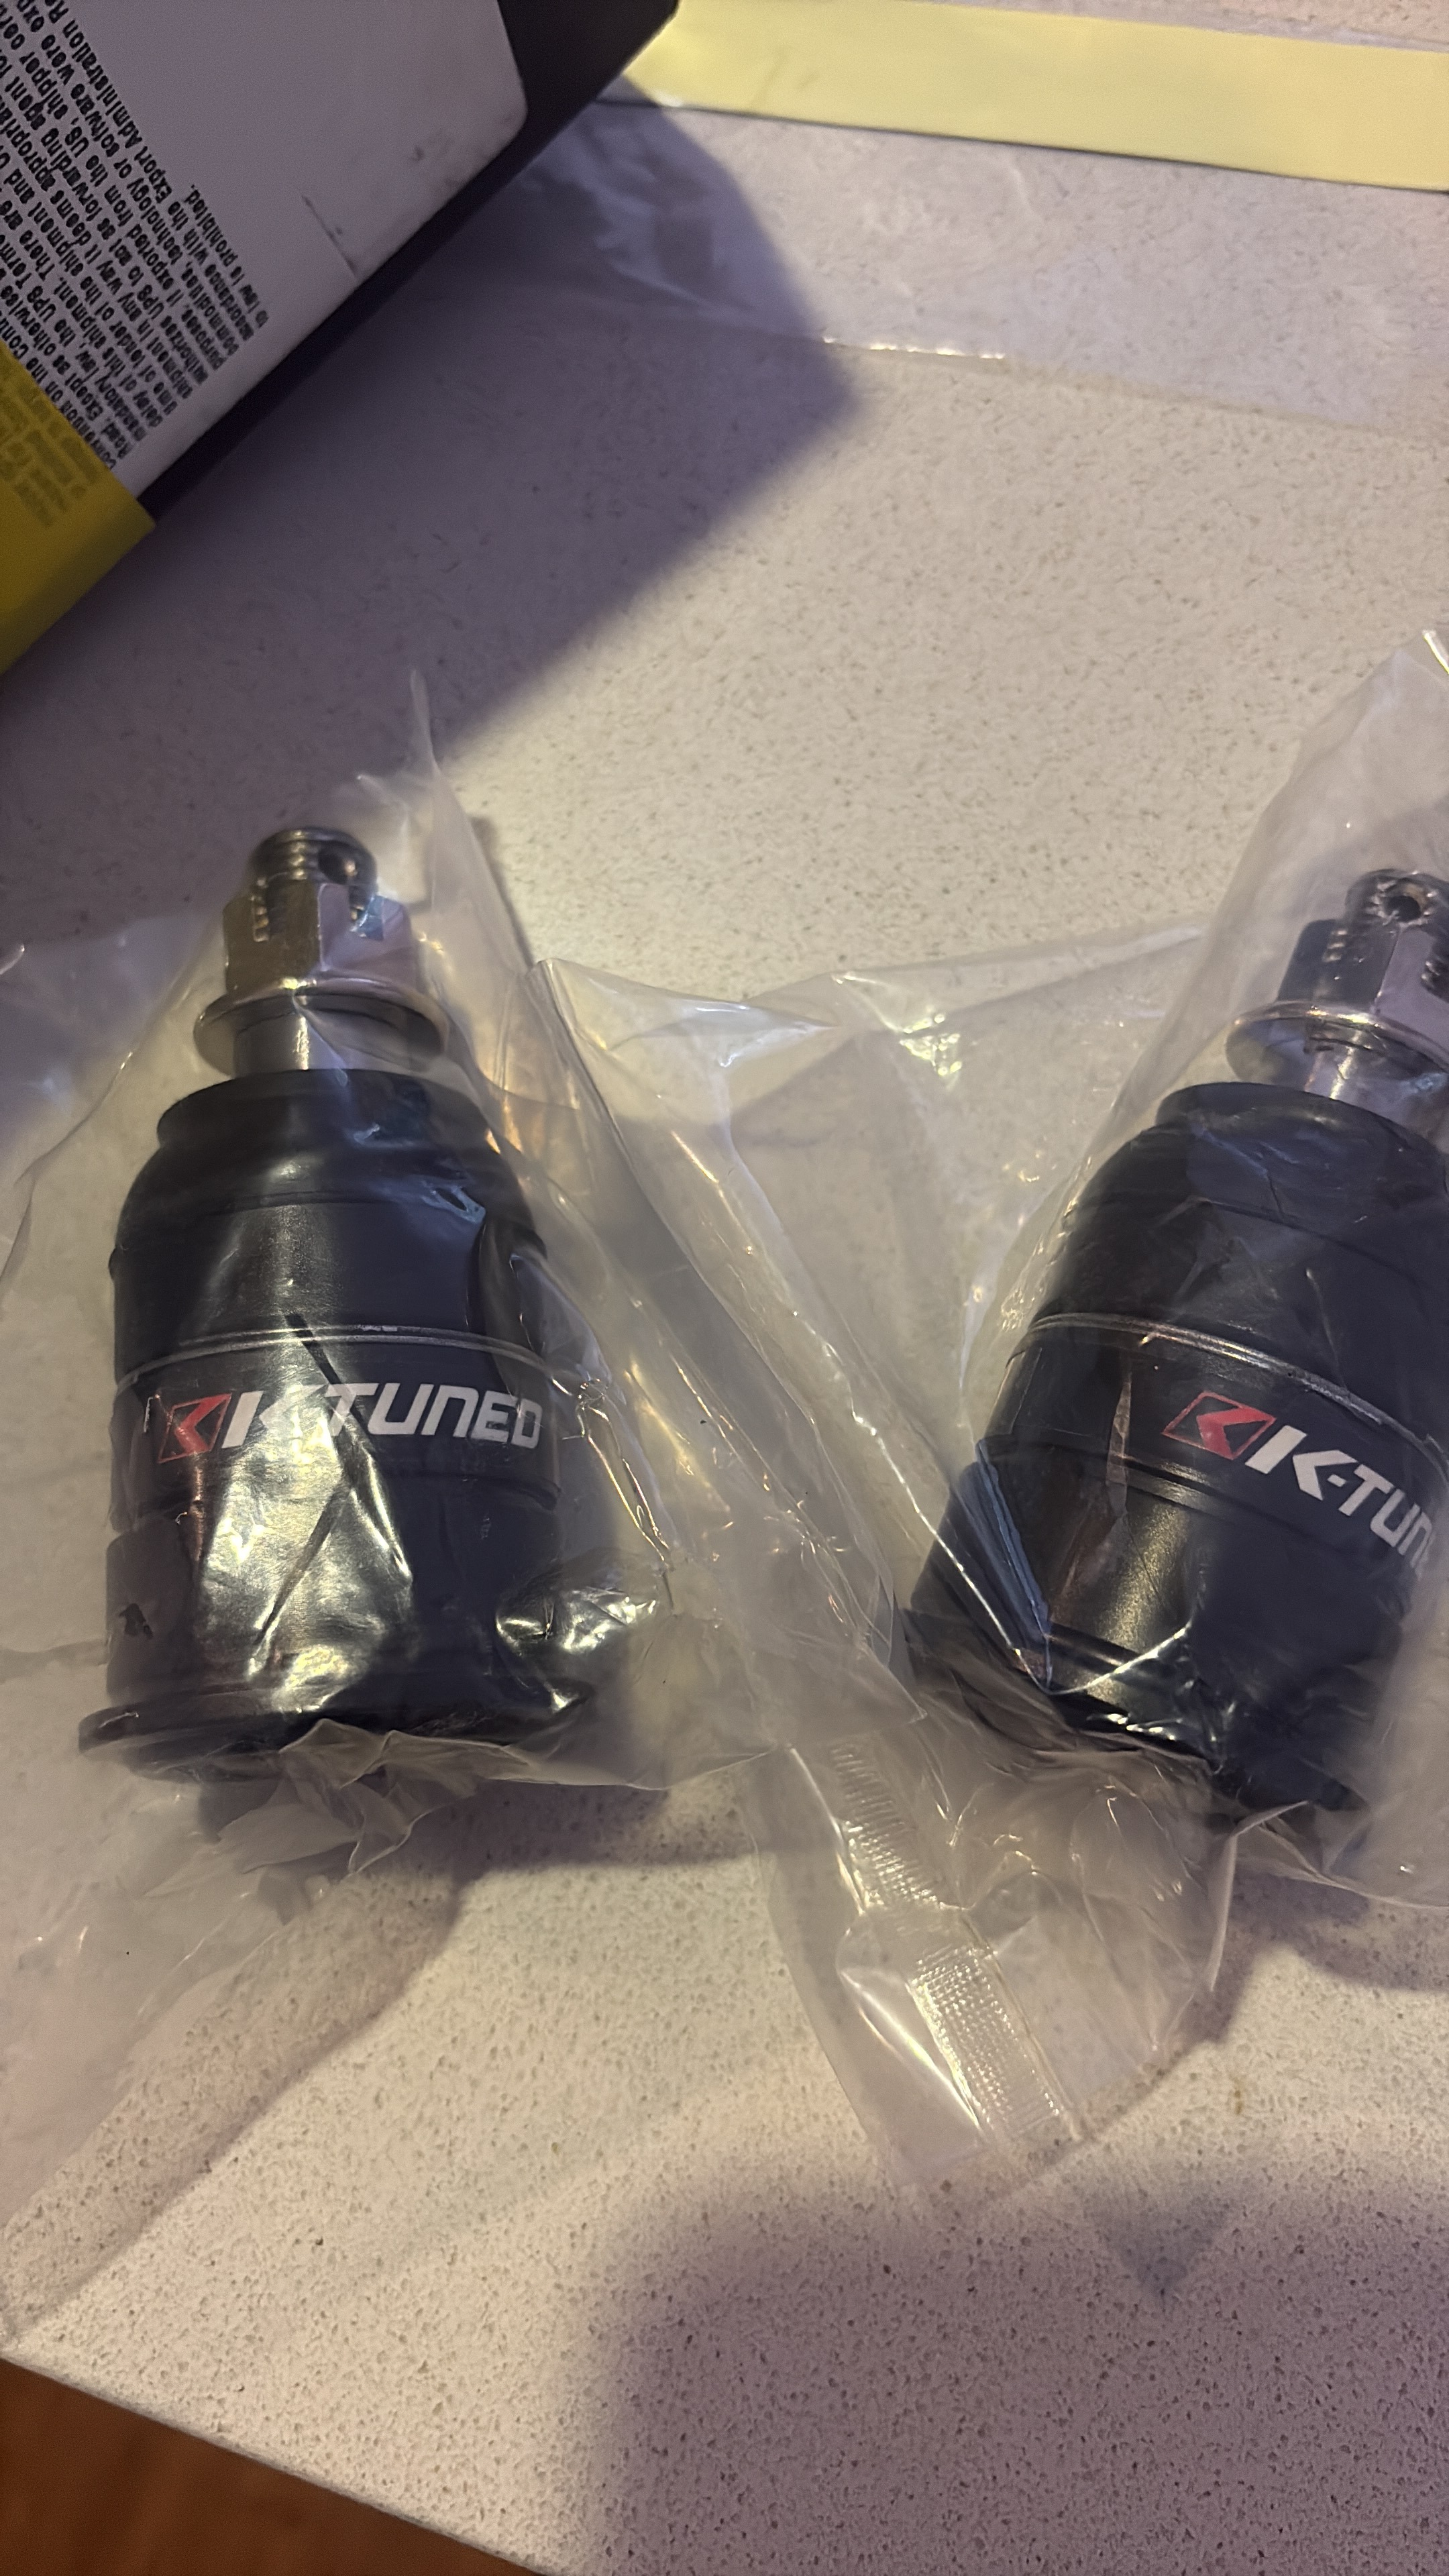
Because we were replacing the LCA ball joints. I decided to install roll center correction ball joints. When we lower the vehicle from factory, we change the geometry of the roll center of the car. The roll center is a geometric point defined by the suspension arm angles, It is basically the “pivot” point the body wants to roll around in a corner.
Some extended ball joints for roll Center correction. When we lower the car the suspension geometry for the roll center changes. The extended ball joints help correct that roll Center by making the lower control arms more parallel to the ground.
From factory height, Honda designed the control arms to sit at specific angles so that the roll center sits at a sensible height above the ground, somewhere between the center of gravity (C.G.) and the road. When you lower the Prelude with coilovers:
The chassis goes down, so the inner pivots of the control arms go down with it.
The wheel center stays in the same place relative to the ground, because that is fixed by tyre radius.
A really good resource to see how this occurs is https://www.vsusp.com/
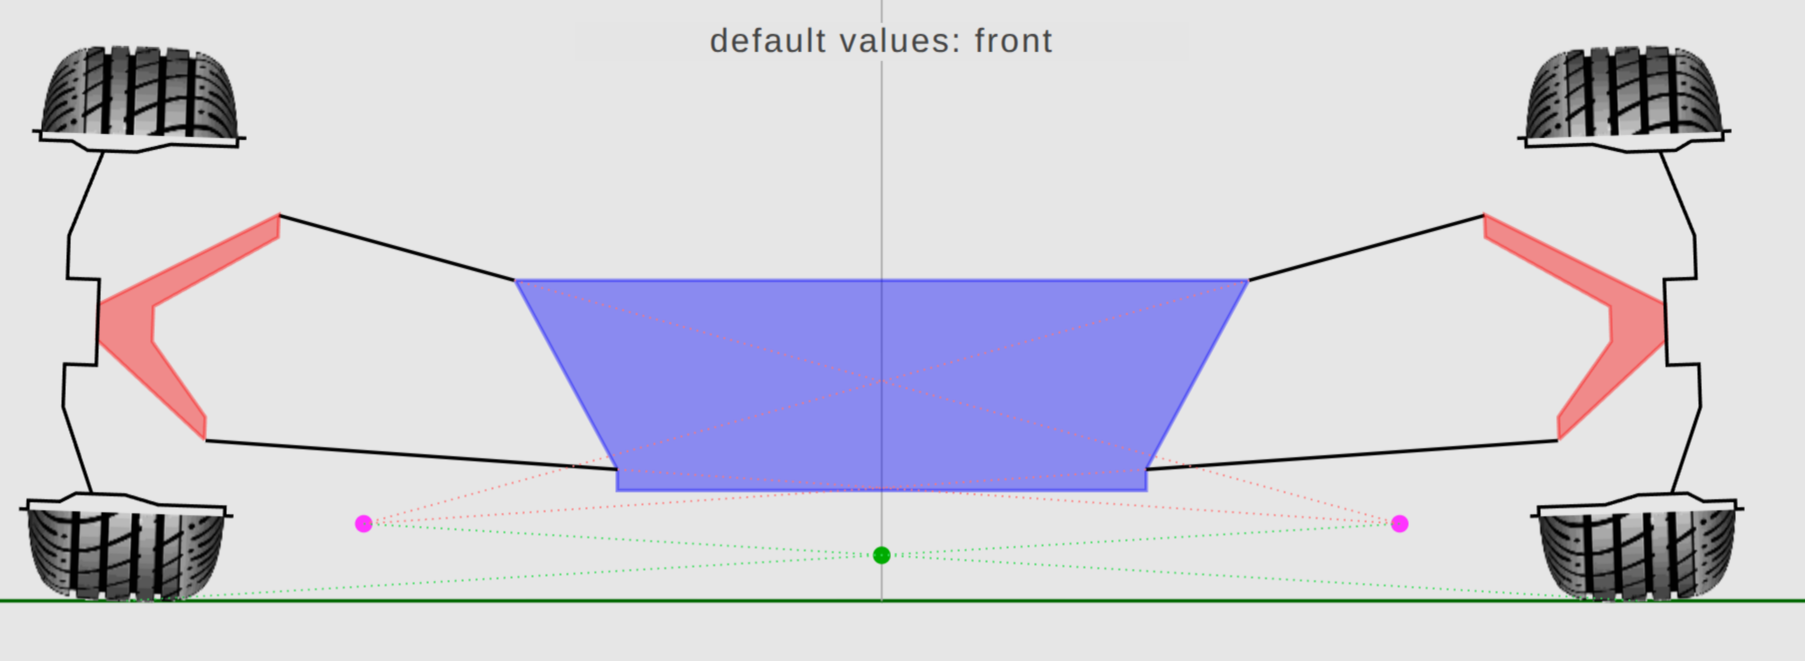
From factory height, Honda designed the control arms to sit at specific angles so that the roll center sits at a sensible height above the ground, somewhere between the center of gravity (C.G.) and the road. When you lower the Prelude with coilovers:
The chassis goes down, so the inner pivots of the control arms go down with it.
The wheel center stays in the same place relative to the ground, because that is fixed by tyre radius.
Result: the control arms now angle upwards from the wheel to the chassis instead of being roughly level or slightly downwards.
Roll center correction ball joints (or “R.C. correcting” knuckles) work by changing the relative position of the ball joint to the hub without moving the chassis.
In simple terms:
They move the ball joint stud further away from the hub center. This effectively restores the control arm angle closer to what it was at stock height, even though the chassis is now physically lower.
However by extending the ball joint from the stock height, this introduces bump steer. More on this in the next section.
The problem. After installing the roll Center ball joints, we felt a notable shuddering in the steering wheel during engine braking.
It’s possible the angle of the axle was now at its limit.
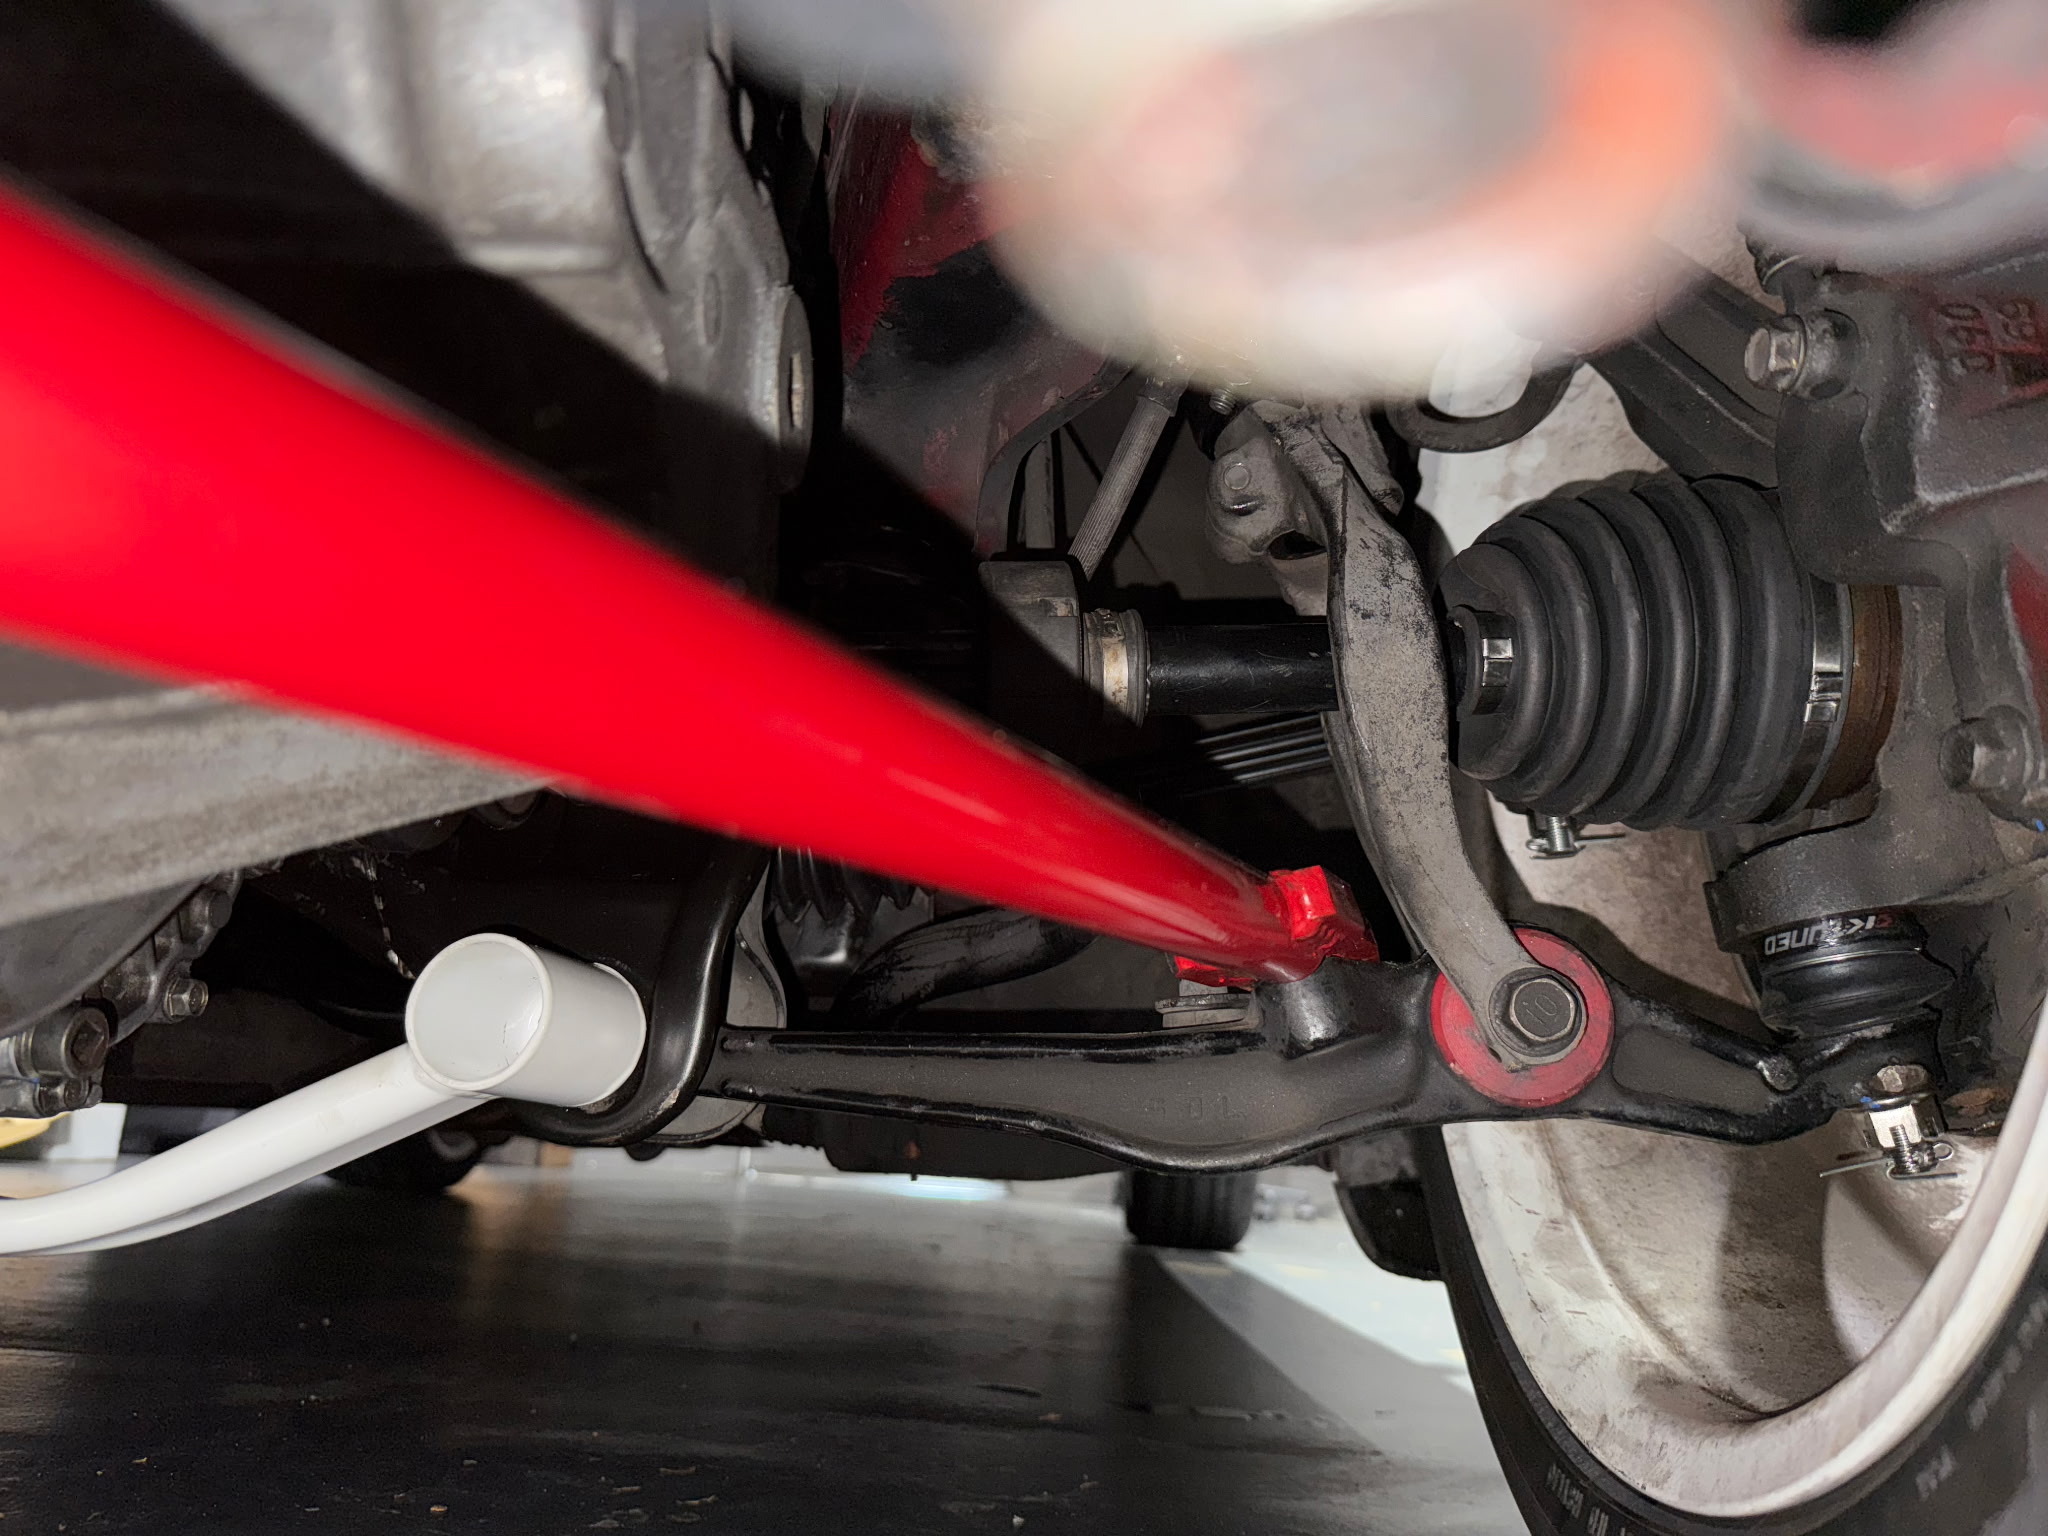
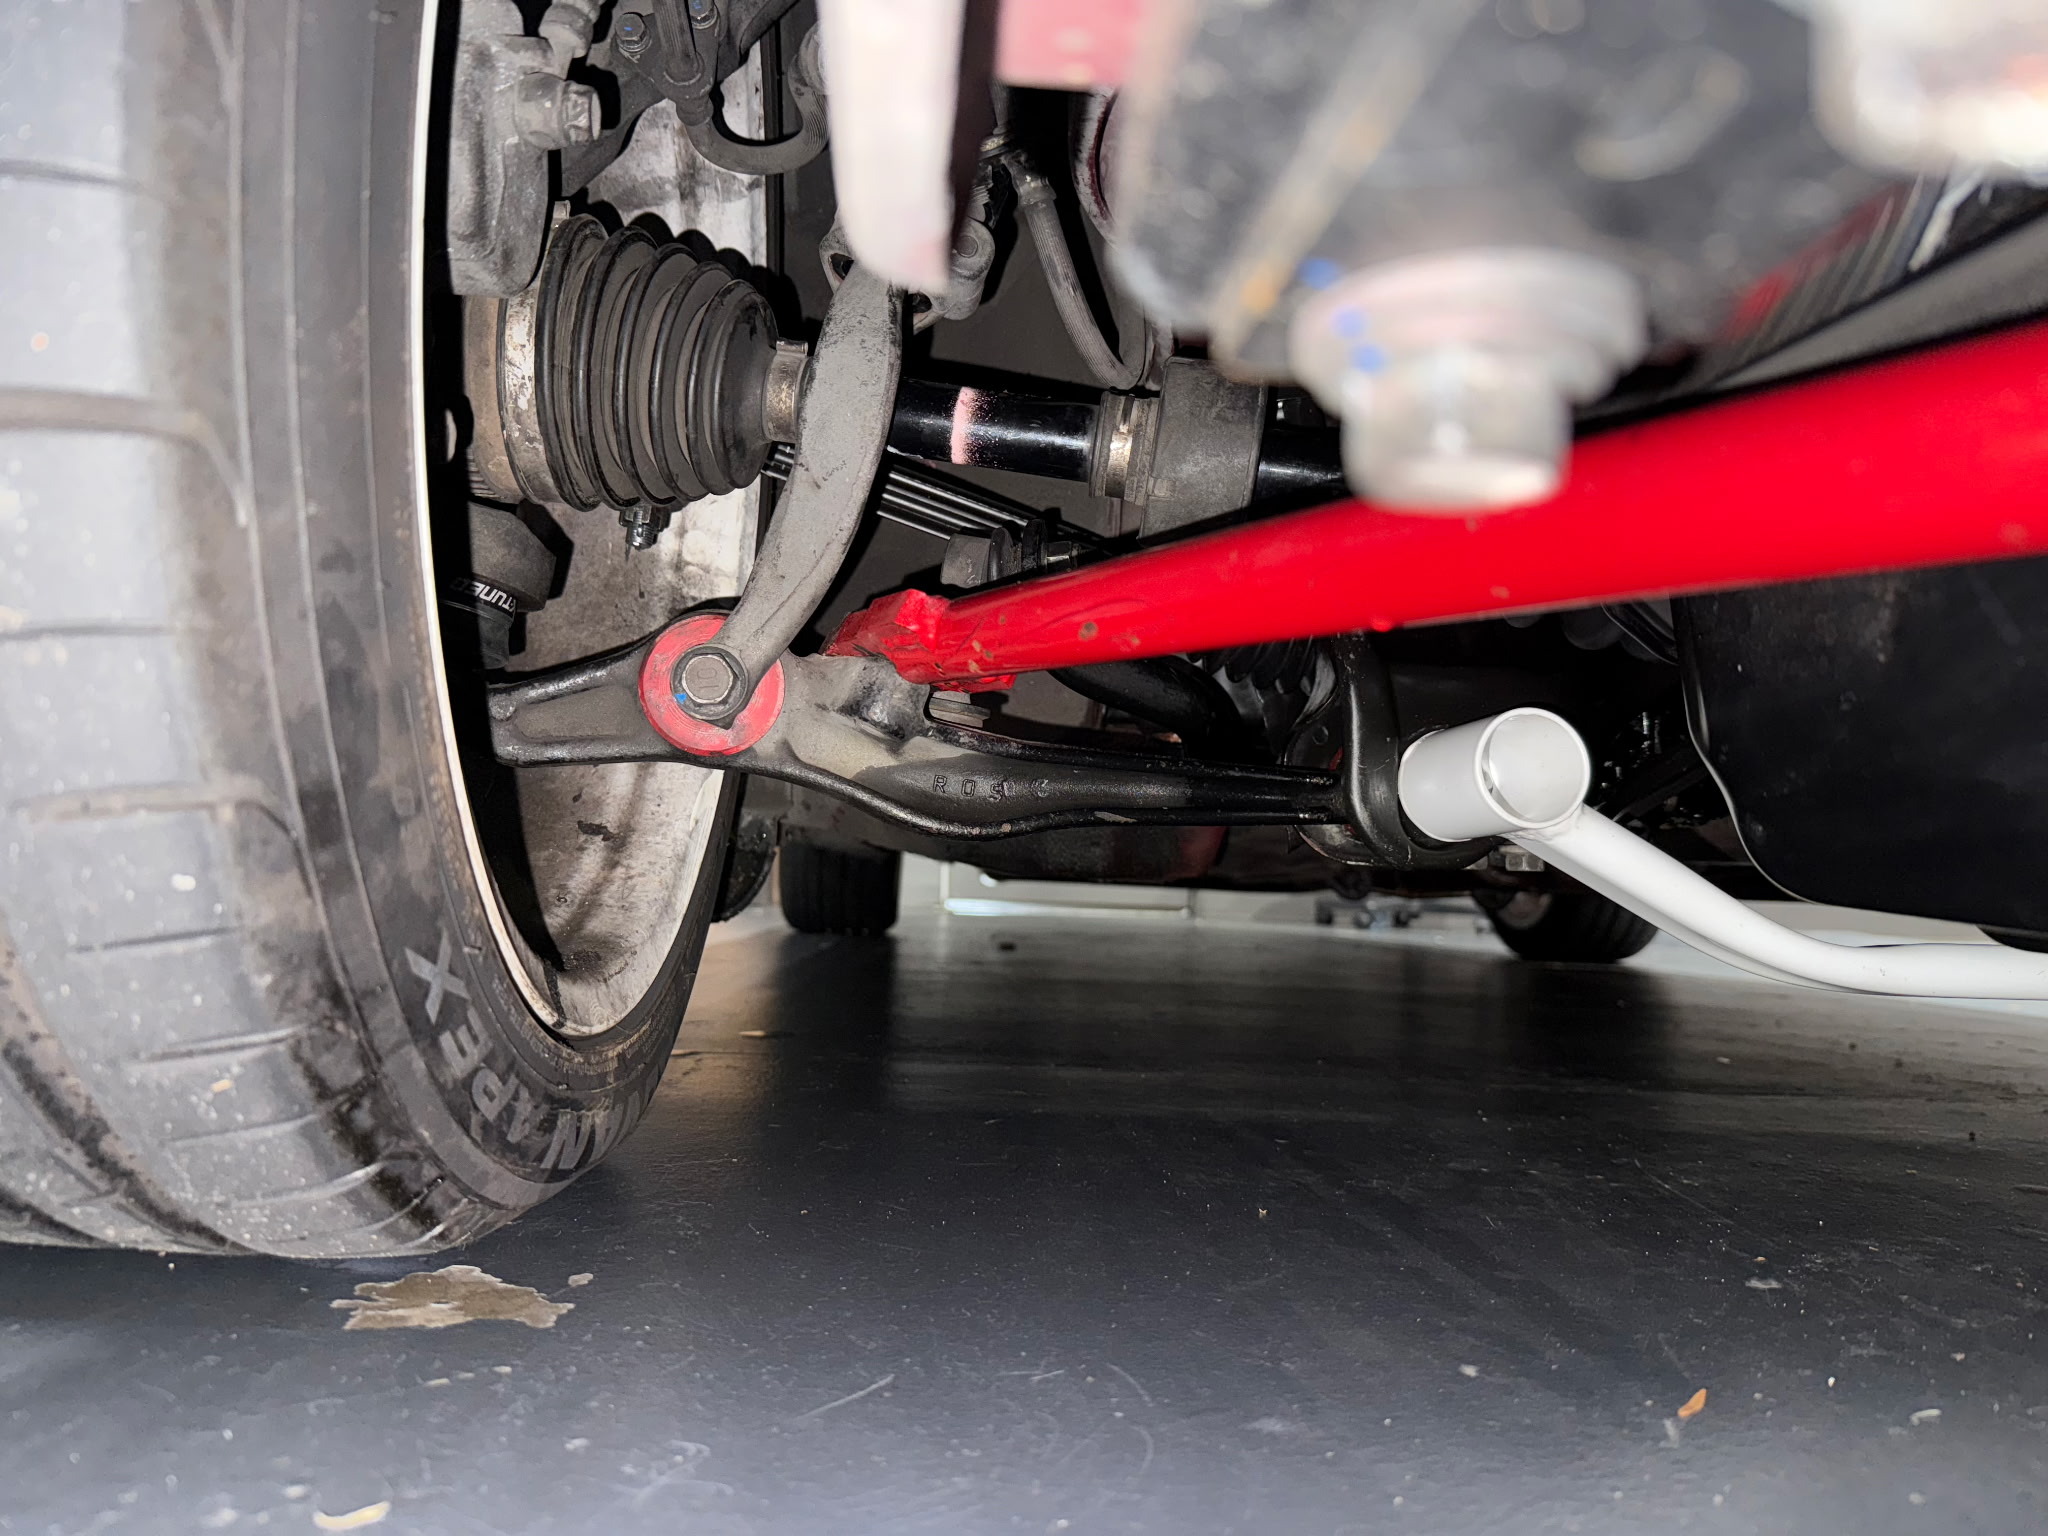
After installing the extended ball joints, this further lowered the car another 12mm at the front. In order to try get the axles back at an acceptable level, we raised the car back up until the shuddering went away.
Bump Steer, what is it?
From wiki: Bump steer is the tendency of a vehicle’s wheels to steer themselves as the suspension travels up and down, without any input from the steering wheel. It happens because the suspension linkages and steering linkages travel in slightly different arcs, causing the tyre to unexpectedly “toe in” or “toe out”
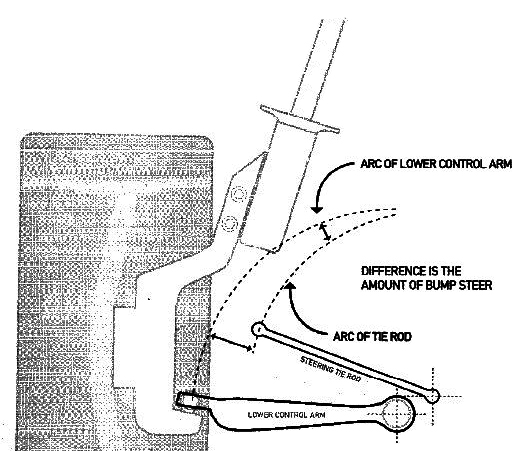
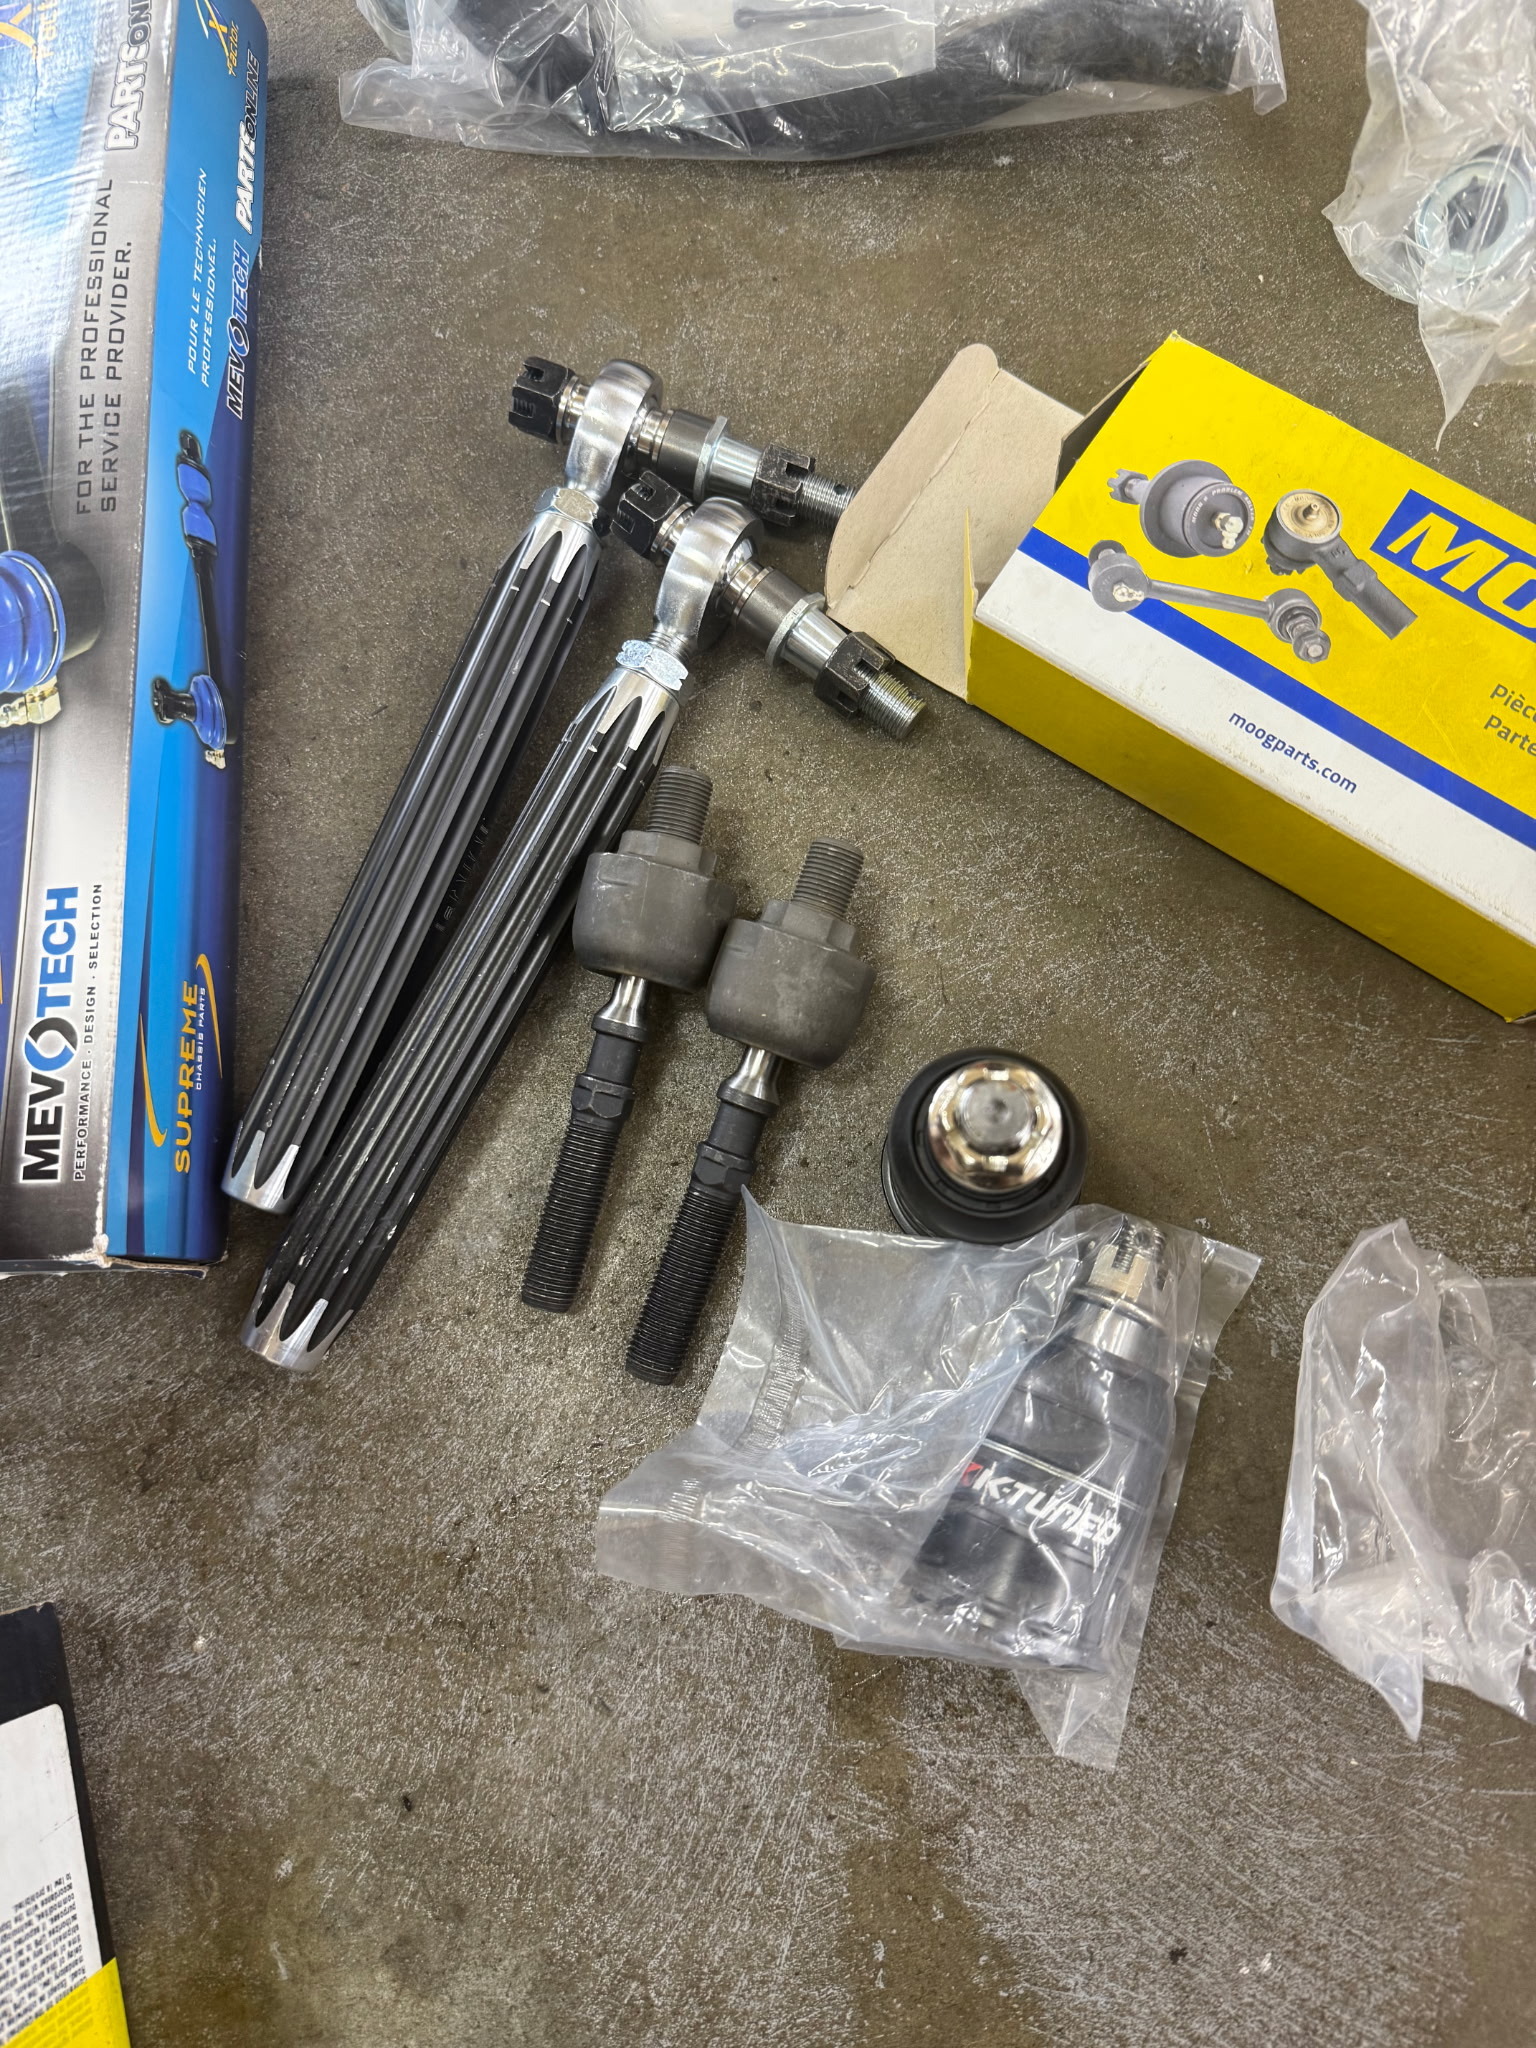
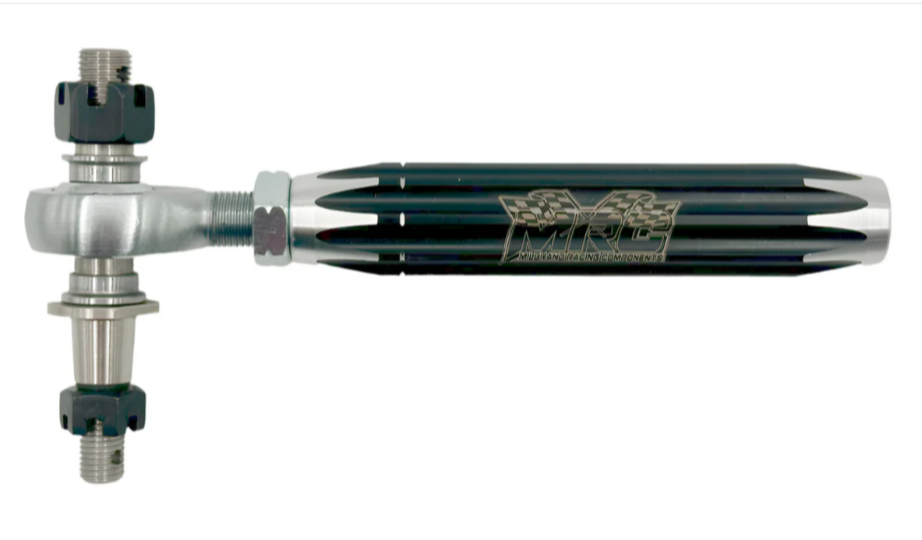
To address this issue, we purchased a bumpsteer kit from https://mrcracingcomponents.com/ so we could also ensure the steering geometry is correct. The bumpsteer kit - Moves the outer tie rod end to a new height and sometimes inboard/outboard position to keep the tie rod arc matched to the control arm arc.
There was a known power steering leak when we first purchased the car which had not yet been addressed.
We had our friends from https://www.racedivision.com/ help with the power steering fix, as well as the install for new ball joints, bump steer kit and new moog inner tie rods.
some tricks from Heasemans
Finally, getting to the alignment phase and corner weighting.
We took the prelude to the reputable Heasemans in Sydenham.
There was an old trick they used to increase the amount of caster. By swapping the left and right camber arms and flipping the ball joint, they were able to move the caster amount from 2 degrees to 7 degrees. Which is a significant change.

The corner weighting achieved a 50/50 diagonal and our front/rear weight distribution measured in at 60.4/39.6 which was close to how we initially estimated 60/40 when attempting to select the spring rates to match the tuning frequency for the FD2R
We dialled in more aggressive camber and some toe out in the front for a bit more rotation.
Alignment
| Position | Setting | Left | Right | Total |
|---|---|---|---|---|
| Front | Caster | +7°39’ | +7°01’ | — |
| Front | Camber | -3°32’ | -3°18’ | — |
| Front | Toe | -0.5 | -0.5 | -1.0 |
| Rear | Camber | -1°38’ | -1°37’ | — |
| Rear | Toe | +0.1 | +0.1 | +0.2 |
| Rear | Thrust Angle | 0°00’ | 0°00’ | 0°00’ |
Corner Weights
| Category | Value |
|---|---|
| Date | 2026/06/12 13:44 |
| Front | 784.31 kg (60.4%) |
| Rear | 514.23 kg (39.6%) |
| Left | 624.79 kg (48.1%) |
| Right | 673.75 kg (51.9%) |
| FL | 379.85 kg |
| FR | 404.46 kg |
| RL | 244.94 kg |
| RR | 269.29 kg |
| FL-RR Diagonal | 649.14 kg (50.0%) |
| FR-RL Diagonal | 649.40 kg (50.0%) |
| Total Weight | 1298.53 kg |
| Dry Weight | 1213.03 kg |
| Driver Weight | 63.00 kg |
| Fuel Weight | 22.50 kg |
| Front Axis Length | 157.00 cm |
| Rear Axis Length | 155.00 cm |
| Between Axis | 256.00 cm |
| Mass Offset | 26.62 cm to front |
| Mass Offset | 2.94 cm to right |
| Include Driver | Yes |
| The car feels absolutely phenomenal and balanced with the corner weight and alignment settings. |